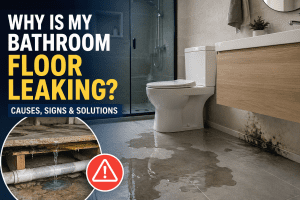
Bathroom floor waterproofing is one of the most important parts of any bathroom renovation, yet it’s also one of the most commonly ignored. A beautiful tile finish may look impressive at first, but if water slowly seeps underneath the floor, serious problems can appear within a few years — including mold, loose tiles, wall damage, bad odors, and even structural deterioration.
From my experience working on bathroom renovation and repair projects, failed waterproofing is one of the top reasons homeowners end up redoing bathrooms much earlier than expected. In many cases, the visible tile surface still looks fine while moisture is already damaging the subfloor underneath.
The good news is that proper bathroom waterproofing is not complicated when done correctly. The key is choosing the right waterproofing system, preparing the surface properly, and understanding where leaks most commonly happen.
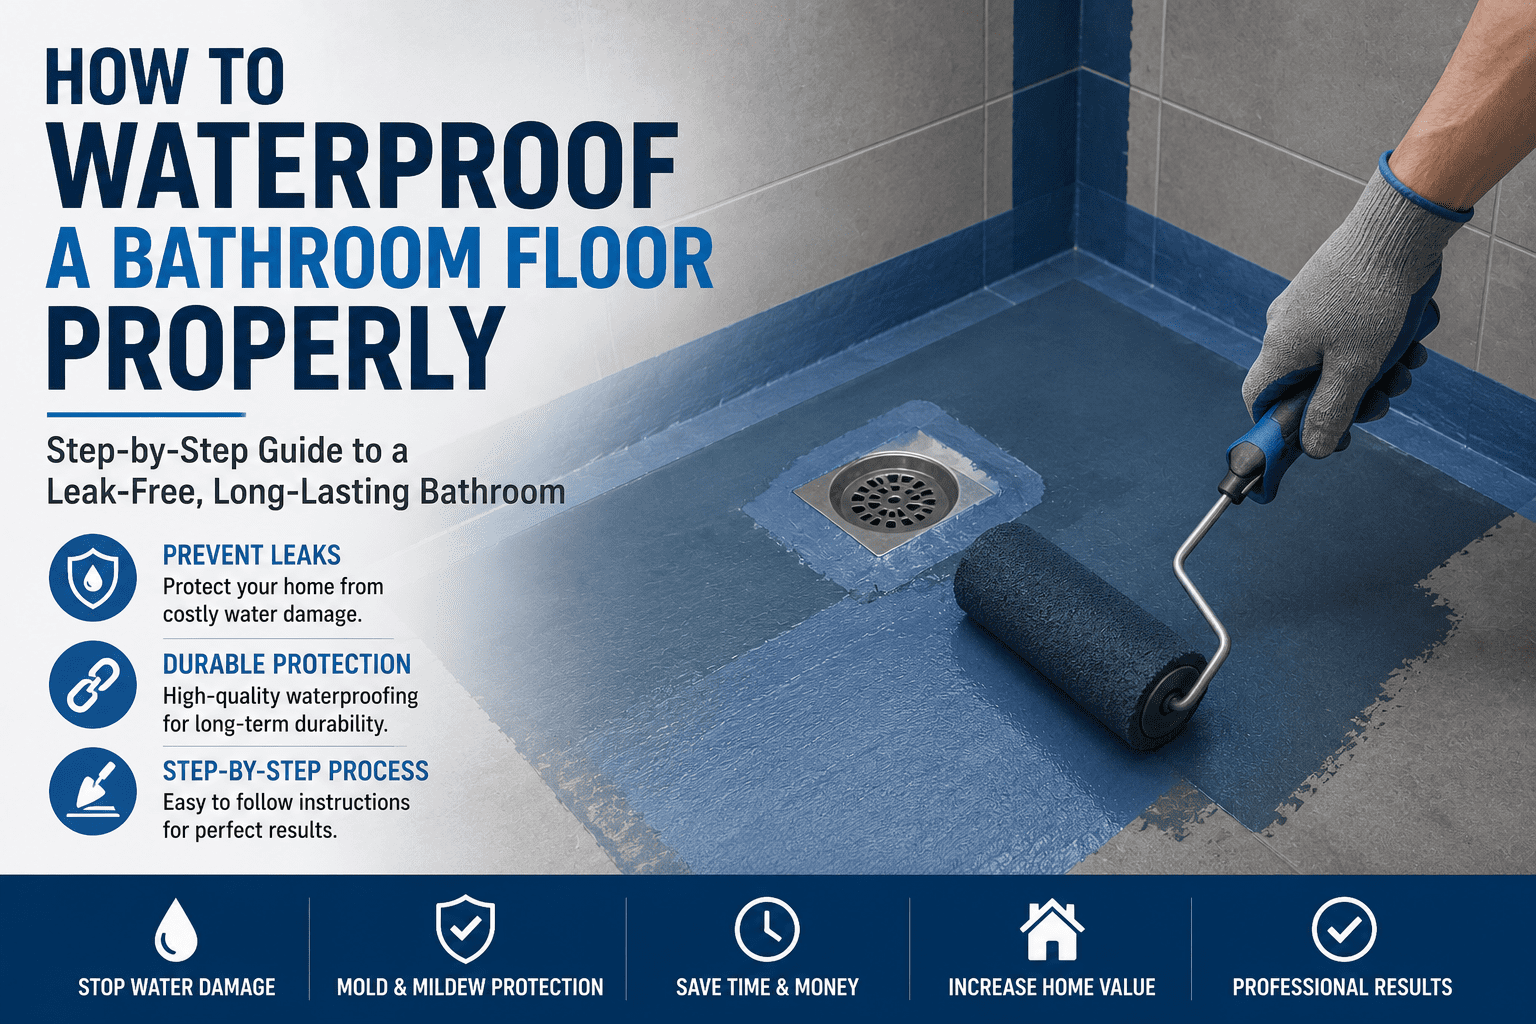
Quick Answer: How Do You Waterproof a Bathroom Floor Properly?
- Clean and dry the subfloor completely before starting.
- Repair cracks, uneven surfaces, and loose areas first.
- Apply a high-quality waterproof membrane or liquid waterproofing system.
- Seal corners, drains, and wall-floor joints carefully.
- Allow proper curing time before tiling.
- Perform a flood test before final installation.
Why Bathroom Floor Waterproofing Matters
Bathrooms are constantly exposed to water, humidity, steam, and temperature changes. Even small amounts of trapped moisture can slowly penetrate grout lines and reach the subfloor beneath the tiles.
Without proper waterproofing, common problems include:
- Mold growth behind tiles
- Loose or hollow floor tiles
- Bad bathroom odors
- Water stains on ceilings below
- Wood rot and structural damage
- Expensive future repairs
According to renovation industry estimates, water damage repair costs are often 3–5 times higher than proper waterproofing during initial construction.
Most Common Bathroom Waterproofing Mistakes
1. Waterproofing Only the Shower Area
Many homeowners assume only the shower needs waterproofing. In reality, water spreads across the entire bathroom floor through splashing, steam, and cleaning.
In several renovation projects I’ve inspected, water damage appeared far away from the shower because the rest of the floor had no waterproof protection.
2. Skipping Corner Reinforcement
Corners and wall-floor joints are the most vulnerable leak points. These areas naturally expand and contract over time, causing cracks in weak waterproof layers.
3. Installing Tiles Too Early
One of the biggest DIY mistakes is not allowing enough curing time. Waterproof membranes need sufficient drying time before tiling begins.
4. Ignoring Drain Waterproofing
Floor drains are responsible for a large percentage of bathroom leaks. Poor sealing around the drain flange allows water to penetrate beneath the flooring system.
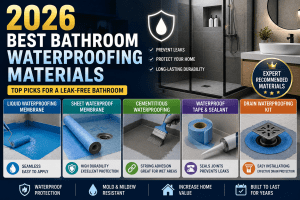
Bathroom Waterproofing Methods Compared
| Waterproofing Type | Cost | Installation Difficulty | Maintenance | Advantages | Disadvantages |
|---|---|---|---|---|---|
| Liquid Waterproof Membrane | Medium | Easy-Moderate | Low | Flexible, seamless coverage | Requires even application |
| Sheet Membrane | High | Moderate | Low | Very durable and reliable | Higher installation cost |
| Cementitious Waterproofing | Low-Medium | Easy | Medium | Affordable and common | Less flexible over time |
| Polyurethane Waterproofing | High | Moderate | Low | Excellent flexibility | Higher material price |
Step-by-Step Bathroom Floor Waterproofing Process
Step 1: Prepare the Surface Properly
The floor must be completely clean, dry, and stable before waterproofing begins.
- Remove dust and debris
- Repair cracks or holes
- Level uneven areas
- Ensure proper floor slope toward the drain
One common issue I see during bathroom repairs is waterproofing applied directly over dusty or damp surfaces, which causes poor adhesion later.
Step 2: Apply Primer
Most waterproofing systems require a primer to improve bonding between the substrate and waterproof membrane.
Skipping primer may reduce waterproofing durability significantly.
Step 3: Reinforce Corners and Joints
Use waterproof tape or reinforcing fabric around:
- Floor corners
- Wall joints
- Pipe penetrations
- Drain areas
This step is critical because movement and expansion often create small cracks over time.
Step 4: Apply Waterproof Membrane
Apply the waterproof membrane evenly across the entire floor area.
Most liquid systems require:
- 2–3 coats
- Cross-direction application
- Proper drying time between coats
The waterproof layer should also extend at least 6–12 inches up the wall.
Step 5: Perform a Flood Test
A flood test checks whether the waterproofing system actually holds water without leaking.
In professional renovations, this is considered essential before tile installation.
Step 6: Install Tiles Carefully
After waterproofing cures fully:
- Use flexible tile adhesive
- Seal grout properly
- Maintain floor slope toward drain
Real Bathroom Waterproofing Scenarios
Apartment Bathrooms
Apartment bathrooms usually have thinner floor slabs and shared ceilings below. Even minor leaks can create serious neighbor disputes and expensive repair bills.
For apartments, high-quality sheet membranes are often the safest long-term solution.
Small Bathrooms
Small bathrooms tend to trap humidity more easily, increasing moisture exposure across the entire floor.
Good ventilation is just as important as waterproofing itself.
Old Homes
Older homes may contain cracked concrete, uneven floors, or hidden moisture damage. Surface preparation becomes even more important before waterproofing begins.
Signs Your Bathroom Waterproofing Is Failing
- Loose or hollow tiles
- Moldy smell
- Cracked grout
- Water stains downstairs
- Peeling paint near bathroom walls
- Persistent damp flooring
Professional Experience and Common DIY Mistakes
One of the biggest mistakes DIY homeowners make is assuming tiles themselves are waterproof. In reality, tiles only protect the surface appearance. The real waterproof barrier exists underneath.
I’ve seen bathrooms with expensive porcelain tiles completely fail within just a few years because the waterproofing layer underneath was rushed or incomplete.
Another common problem is poor drain slope design. Even the best waterproofing system struggles if water constantly pools in certain floor areas.
Best Waterproofing Solution Based on Your Situation
- Best for DIY beginners: Liquid waterproof membrane
- Best for luxury bathrooms: Sheet membrane systems
- Best budget option: Cementitious waterproofing
- Best for long-term durability: Polyurethane systems
- Best for apartments: Full-floor waterproof membrane with flood test
Bathroom Waterproofing Maintenance Tips
- Inspect grout lines every 6–12 months
- Repair cracked silicone seals quickly
- Keep ventilation fans clean
- Avoid standing water accumulation
- Reseal grout periodically if needed
Frequently Asked Questions
1. Is bathroom floor waterproofing really necessary?
Yes. Even small leaks can eventually cause mold, tile failure, and structural water damage.
2. How long does bathroom waterproofing last?
High-quality waterproofing systems typically last 10–20 years depending on installation quality and maintenance.
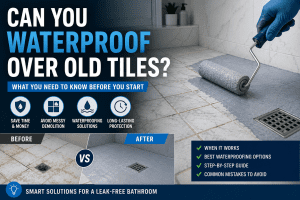
3. Can I waterproof over existing tiles?
Some systems allow it, but proper surface preparation is critical for reliable adhesion.
4. Which bathroom waterproofing method is best?
Sheet membranes offer the highest reliability, while liquid membranes are more DIY-friendly and cost-effective.
5. Should waterproofing go under the entire bathroom floor?
Yes. Waterproofing the entire floor provides much better long-term protection.
Related Articles
- 2026 Bathroom Waterproofing Guide
- Signs of Bathroom Waterproofing Failure
- Bathroom Leak Repair Without Removing Tiles
- Liquid Waterproofing vs Membrane
- Common Bathroom Waterproofing Mistakes
External reference: EPA Mold and Moisture Guide
Conclusion
Proper bathroom floor waterproofing is one of the smartest long-term investments in any bathroom renovation. While tiles and fixtures often get the most attention, the hidden waterproofing layer is what truly protects the bathroom from expensive water damage.
By preparing the surface correctly, choosing the right waterproofing system, sealing vulnerable areas carefully, and allowing enough curing time, homeowners can dramatically improve bathroom durability and reduce future repair costs. Whether you’re renovating a small apartment bathroom or building a luxury master bathroom, quality waterproofing should never be skipped.