Bathroom waterproofing is one of the most important parts of any renovation project, yet it’s also one of the most commonly overlooked. Many homeowners spend thousands on luxury tiles, premium fixtures, and stylish lighting, only to experience hidden leaks, mold growth, or structural damage a few years later because the waterproofing was done incorrectly.
From my experience working on bathroom renovation and leak repair projects, waterproofing failures are rarely caused by a single catastrophic mistake. Instead, they usually happen because of multiple small installation errors that slowly allow water to penetrate beneath the surface.
The frustrating part is that many waterproofing problems remain invisible until expensive damage appears. By the time ceiling stains, loose tiles, or mold become visible, moisture may have already spread throughout the subfloor or wall structure.
This guide explains the most common bathroom waterproofing mistakes, why they happen, and how homeowners can avoid costly repairs in the future.
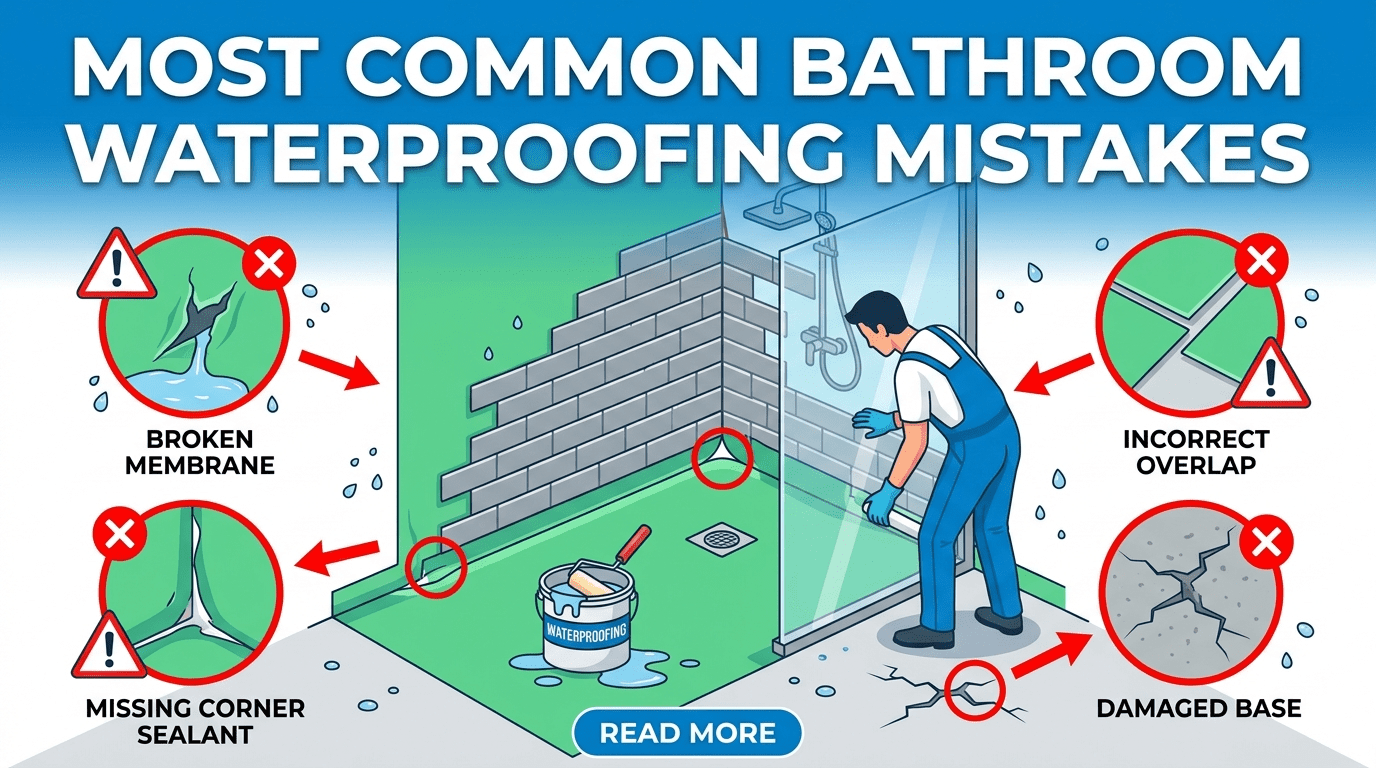
Quick Answer: What Are the Most Common Bathroom Waterproofing Mistakes?
- Skipping waterproofing entirely in certain areas
- Using low-quality waterproofing materials
- Applying membrane too thin
- Ignoring floor slope and drainage
- Poor sealing around drains and pipes
- Tiling before membrane curing finishes
- Weak grout and silicone maintenance
Why Bathroom Waterproofing Fails So Often
Bathrooms are constantly exposed to:
- Water splashes
- Steam and humidity
- Standing water
- Temperature fluctuations
- Cleaning chemicals
Even a tiny waterproofing gap can slowly allow water to enter vulnerable building materials underneath.
Many homeowners assume tiles themselves are waterproof, but that’s not true. Water can gradually pass through grout lines over time. The real protection comes from the waterproof membrane hidden beneath the tiles.
Mistake #1: Waterproofing Only the Shower Area
One of the biggest mistakes is waterproofing only inside the shower while leaving the rest of the bathroom floor unprotected.
In reality, water spreads throughout bathrooms far more than people expect. Steam, splashes, wet feet, and cleaning water all contribute to moisture exposure.
Why This Is Dangerous
- Water can seep under floor tiles
- Moisture spreads toward walls
- Leaks may affect nearby rooms
- Subfloor damage becomes likely
In apartment buildings especially, full-floor waterproofing is strongly recommended.
Mistake #2: Applying Waterproof Membrane Too Thin
Liquid waterproof membranes must be applied at the correct thickness to work properly.
One common DIY mistake is spreading the membrane too thin in order to save material.
What Happens
- Weak waterproof protection
- Tiny pinholes remain exposed
- Cracks develop more easily
- Leaks appear prematurely
Professional installers usually apply multiple coats while checking manufacturer thickness requirements carefully.
Mistake #3: Poor Drain Waterproofing
Floor drains are one of the highest-risk leak points in any bathroom.
If the membrane connection around the drain is poorly sealed, water can bypass the entire waterproof system.
Common Drain Problems
- Improper flange sealing
- Weak membrane bonding
- Movement around drain edges
- Incorrect floor slope
In many leak repair projects I’ve seen, the drain connection was actually the main failure point rather than the tile surface itself.
Mistake #4: Ignoring Proper Floor Slope
Waterproofing alone cannot solve drainage problems if the floor slope is incorrect.
Standing water creates constant long-term moisture exposure that weakens grout, sealants, and membrane systems over time.
Ideal Bathroom Floor Slope
Most shower floors should slope gently toward the drain to prevent water pooling.
Signs of Poor Slope
- Water puddles after showers
- Slow drainage
- Mold near corners
- Persistent damp areas
Mistake #5: Tiling Before Waterproofing Fully Cures
Many contractors rush projects to save time.
But waterproof membranes need proper curing time before tiles are installed.
Why It Matters
- Incomplete curing weakens adhesion
- Moisture becomes trapped
- Membrane integrity decreases
- Future cracking becomes more likely
Skipping curing time is one of the hidden causes of premature waterproofing failure.
Mistake #6: Weak Waterproofing Around Pipes and Fixtures
Pipe penetrations are often overlooked during installation.
Every water pipe entering walls or floors creates a potential leak pathway.
Critical Areas
- Shower mixers
- Toilet plumbing
- Sink pipes
- Water supply penetrations
Professional waterproofing systems use specialized collars and sealants around these areas.
Mistake #7: Using Cheap Waterproofing Products
Low-quality waterproofing materials may save money initially, but they often fail much faster.
Bathrooms experience constant moisture stress, so product quality matters significantly.
Common Problems with Cheap Materials
- Poor flexibility
- Weak adhesion
- Cracking over time
- Short lifespan
In my experience, waterproofing is one area where cutting costs usually creates bigger expenses later.
Mistake #8: Skipping Waterproofing Reinforcement Tape
Bathroom corners and wall-floor joints experience movement over time.
Without reinforcement tape, membranes often crack in these stress areas.
Critical Reinforcement Areas
- Shower corners
- Wall-floor transitions
- Expansion joints
- Pipe penetrations
Mistake #9: Poor Bathroom Ventilation
Even excellent waterproofing systems struggle if the bathroom constantly traps humidity.
Poor ventilation accelerates:
- Mold growth
- Sealant deterioration
- Grout damage
- Moisture buildup
Bathrooms should always have:
- Exhaust fans
- Natural airflow if possible
- Humidity reduction after showers
Mistake #10: Neglecting Maintenance After Installation
Waterproofing is not completely maintenance-free forever.
Over time:
- Silicone ages
- Grout cracks
- Tiles shift slightly
- Drain seals weaken
Regular inspections help prevent small issues from becoming major repairs.
Bathroom Waterproofing Mistakes Comparison Table
| Mistake | Repair Cost Risk | Installation Difficulty | Maintenance Impact | Main Advantage If Avoided | Main Consequence If Ignored |
|---|---|---|---|---|---|
| Partial Waterproofing | High | Easy to avoid | Low | Better leak protection | Hidden moisture damage |
| Thin Membrane Application | High | Moderate | Low | Longer lifespan | Premature leaks |
| Poor Drain Sealing | Very High | Difficult | Low | Reliable drainage | Subfloor water damage |
| Weak Ventilation | Medium | Easy | Medium | Reduced mold growth | Humidity buildup |
| Cheap Materials | High | Easy | Medium | Long-term durability | Early waterproof failure |
Real Waterproofing Failure Scenarios
Apartment Bathroom Leak
One apartment renovation looked flawless visually, but the contractor waterproofed only the shower area. Within three years, water spread beneath the floor tiles and damaged the ceiling below.
Luxury Bathroom Failure
In another project, expensive marble tiles were installed before the liquid membrane fully cured. The membrane later separated beneath the tile layer, leading to hidden moisture damage.
DIY Waterproofing Mistake
A homeowner applied a single thin membrane coat to save money. Small pinholes eventually allowed moisture penetration behind the shower wall.
How Long Proper Waterproofing Should Last
- Basic systems: 10–15 years
- Premium systems: 15–25 years
- High-quality installations with maintenance: potentially longer
However, poor installation can cause problems within just a few years.
Best Waterproofing Practices Based on Bathroom Type
Apartment Bathrooms
- Full-floor waterproofing recommended
- Prioritize drain sealing
- Prevent neighbor damage risk
Small Bathrooms
- Focus heavily on ventilation
- Use flexible membranes
- Avoid standing water areas
Luxury Bathrooms
- Use premium membrane systems
- Perform flood testing
- Hire experienced installers
Frequently Asked Questions
1. Are tiles alone waterproof?
No. Tiles are water-resistant, but water can still penetrate grout joints over time.
2. How thick should waterproof membrane be?
It depends on the product, but manufacturers specify required dry film thickness for proper protection.
3. Can poor grout cause leaks?
Yes. Cracked grout allows moisture to penetrate beneath tiles.
4. Is waterproofing required outside the shower?
In many bathrooms, yes — especially on the entire floor.
5. How can I test bathroom waterproofing?
Professional flood testing is the most reliable method before tile installation.
Related Articles
- 2026 Bathroom Waterproofing Guide
- Bathroom Waterproofing Membrane Explained
- How to Waterproof a Bathroom Floor Properly
- Bathroom Leak Repair Without Removing Tiles
- 7 Signs Your Bathroom Waterproofing Has Failed
External reference: EPA Mold and Moisture Guide
Conclusion
Most bathroom waterproofing problems are preventable. The biggest mistakes usually happen during installation — using weak materials, rushing the curing process, ignoring drainage details, or skipping full-floor protection.
Because waterproofing systems remain hidden beneath tiles, problems often go unnoticed until expensive structural damage appears. Understanding these common mistakes helps homeowners make smarter renovation decisions, protect their bathrooms long-term, and avoid costly leak repairs in the future.