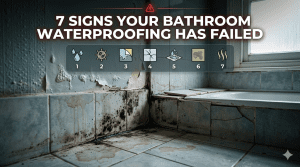
Bathroom waterproofing is one of those renovation tasks that looks deceptively simple. Roll on a liquid membrane, wait for it to dry, install tile, and you’re done—right? In practice, waterproofing is the hidden system that determines whether your bathroom stays leak-free for decades or develops mold and structural damage within a few years.
After more than 15 years of bathroom remodeling and leak investigations, I have seen both sides of the DIY equation. Some homeowners save thousands of dollars and achieve excellent results. Others miss a single corner joint or fail to seal a pipe penetration, leading to repairs that cost far more than professional installation would have.
For additional tutorials and technical resources, explore our Bathroom Waterproofing category.
Quick Answer: Is DIY Bathroom Waterproofing Worth It?
DIY bathroom waterproofing is worth it if you are detail-oriented, follow manufacturer instructions precisely, and are comfortable preparing substrates and performing flood tests. If the bathroom is large, includes a custom shower, or is located above another living space, professional installation is often the safer investment.
- DIY can save $800 to $3,500 in labor costs.
- Success depends on precision, not speed.
- Liquid membranes are usually the most DIY-friendly option.
- A flood test is essential before tiling.
- One small mistake can lead to thousands of dollars in repairs.
Why Waterproofing Matters More Than Most Homeowners Realize
Tile and grout are decorative finishes, not true waterproof barriers. Water eventually penetrates through grout joints, silicone seams, and tiny cracks caused by normal building movement.
The waterproof membrane installed beneath the tile is what protects your subfloor, framing, and ceilings below. If this layer fails, moisture can remain hidden for months before symptoms appear.
In one renovation consultation, a homeowner had completed a beautiful DIY shower. Eighteen months later, soft drywall appeared in the room below. The cause was a small gap around the shower valve opening—an error that took less than five minutes to make and over $6,000 to repair.
DIY vs Professional Waterproofing Comparison
| Factor | DIY Waterproofing | Professional Installation |
|---|---|---|
| Typical Cost | $150–$800 | $1,000–$5,000+ |
| Skill Requirement | Moderate to High | Handled by trained installers |
| Time Required | 2–5 days | 1–3 days |
| Warranty | Usually none | Often includes workmanship warranty |
| Risk of Failure | Depends entirely on technique | Generally lower |
| Best For | Confident DIY renovators | Complex or high-value projects |
When DIY Waterproofing Makes Sense
DIY waterproofing is often a good choice when:
- You have previous renovation experience.
- The bathroom is small and has a simple layout.
- You are using a liquid-applied membrane.
- You are willing to follow every installation step carefully.
- You can perform a proper flood test before tiling.
Our Small Bathroom Waterproofing Tips guide is especially helpful for compact DIY projects.
When Hiring a Professional Is the Better Decision
Professional waterproofing is strongly recommended if:
- The bathroom is above a finished living space.
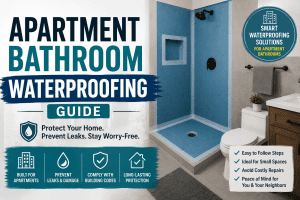
- You are renovating an apartment or condominium.
- The design includes niches, benches, or curbless showers.
- Building permits or inspections are required.
- You want a written workmanship warranty.
Apartment owners should also review our Apartment Bathroom Waterproofing Guide.
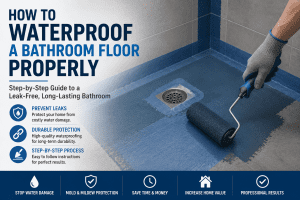
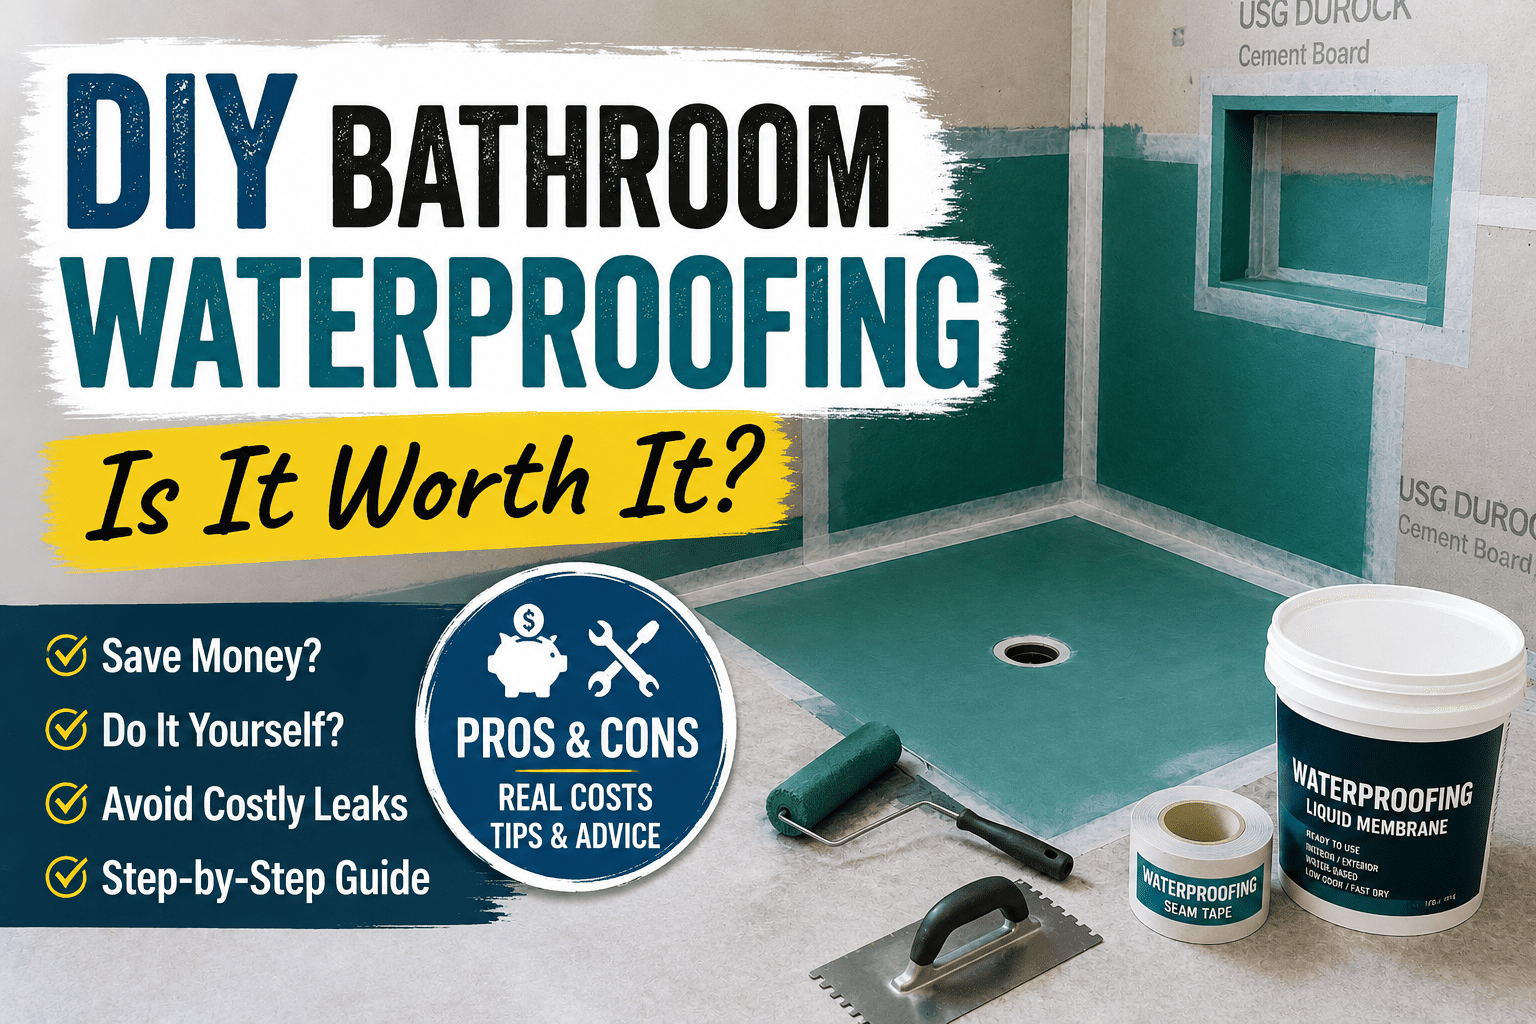
Best Waterproofing Materials for DIY Projects
Liquid waterproof membranes are the most popular DIY choice because they are relatively easy to apply and work well around corners and plumbing penetrations.
| Material Type | DIY Difficulty | Typical Cost | Advantages | Disadvantages |
|---|---|---|---|---|
| Liquid Membrane | Moderate | $$ | Seamless and beginner-friendly | Requires correct thickness |
| Sheet Membrane | Advanced | $$$ | Consistent thickness | More difficult to install |
| Cementitious Coating | Moderate | $ | Affordable | Less flexible |
For a full technical comparison, see Bathroom Waterproofing Membrane Explained.
Real-World DIY Success Story
A homeowner I advised waterproofed his 5-by-8-foot bathroom using a liquid membrane and reinforcing tape. He spent about $320 on materials and three weekends completing the project. Five years later, the bathroom remains leak-free and shows no signs of moisture damage.
The key to his success was patience. He measured wet-film thickness, waited for full curing between coats, and performed a 24-hour flood test before tiling.
Real-World DIY Failure Example
Another homeowner skipped reinforcing tape in the corners because the membrane “looked thick enough.” Within two years, hairline movement cracks allowed water to seep behind the tile. Repairs required complete shower demolition and over $8,000 in remediation costs.
Typical DIY Waterproofing Costs
| Bathroom Size | DIY Materials | Professional Cost | Potential Labor Savings |
|---|---|---|---|
| 40–60 sq ft | $150–$500 | $1,000–$3,000 | $850–$2,500 |
| 60–100 sq ft | $250–$800 | $1,500–$5,000 | $1,250–$4,200 |
Most Common DIY Waterproofing Mistakes
- Applying only one thin coat
- Skipping corner reinforcement
- Ignoring pipe penetrations
- Not checking floor slope
- Tiling before the membrane cures
- Failing to flood test
These issues are discussed further in Most Common Bathroom Waterproofing Mistakes.
How to Decide if DIY Waterproofing Is Right for You
| Your Situation | Recommended Approach |
|---|---|
| Experienced DIY renovator | DIY is often worthwhile |
| Simple bathroom layout | DIY is practical |
| Luxury custom shower | Hire a professional |
| Apartment or condo renovation | Professional installation recommended |
| No renovation experience | Consider professional help |
Industry Standards
About Our Expertise
Frequently Asked Questions
1. Can beginners waterproof a bathroom successfully?
Yes, if they follow manufacturer instructions carefully and are willing to work slowly and methodically.
2. How much money can DIY waterproofing save?
Most homeowners save between $800 and $3,500 in labor costs, depending on bathroom size and complexity.
3. What is the easiest waterproofing system for DIY use?
Liquid-applied membranes are typically the most user-friendly option.
4. Is a flood test necessary for DIY projects?
Absolutely. It is the best way to confirm the waterproofing system is leak-free before tile is installed.
5. What happens if DIY waterproofing fails?
Water can damage framing, subfloors, ceilings, and insulation, often resulting in repairs costing several thousand dollars.
Conclusion
DIY bathroom waterproofing can absolutely be worth it for careful homeowners who are comfortable following technical instructions and investing the time needed to do the job properly. The potential savings are significant, and the satisfaction of completing a successful renovation is substantial.
However, waterproofing is one of the few bathroom tasks where a small hidden mistake can lead to major structural damage. In my professional experience, DIY is worth it only when you treat waterproofing as a precision system rather than a simple coating. If you are unsure about any critical detail, hiring a qualified professional is often the smartest long-term investment.