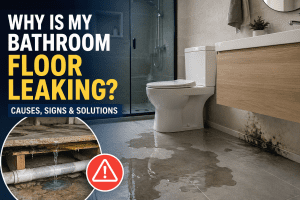
Failed bathroom waterproofing is one of the most expensive hidden problems a homeowner can face. At first, the symptoms may seem minor: cracked grout, peeling paint, a musty smell, or dark spots near the shower base. But once water penetrates behind tiles and reaches the substrate, it can quietly damage drywall, framing, insulation, and even the ceiling below.
After more than 15 years of inspecting bathroom leaks and supervising waterproofing repairs, I have learned one important lesson: surface fixes rarely solve true waterproofing failures. Regrouting and resealing can improve appearance temporarily, but if the membrane beneath the tile is compromised, the only lasting solution is to repair the waterproofing system itself.
For more technical resources and in-depth guides, explore our Bathroom Waterproofingcategory.
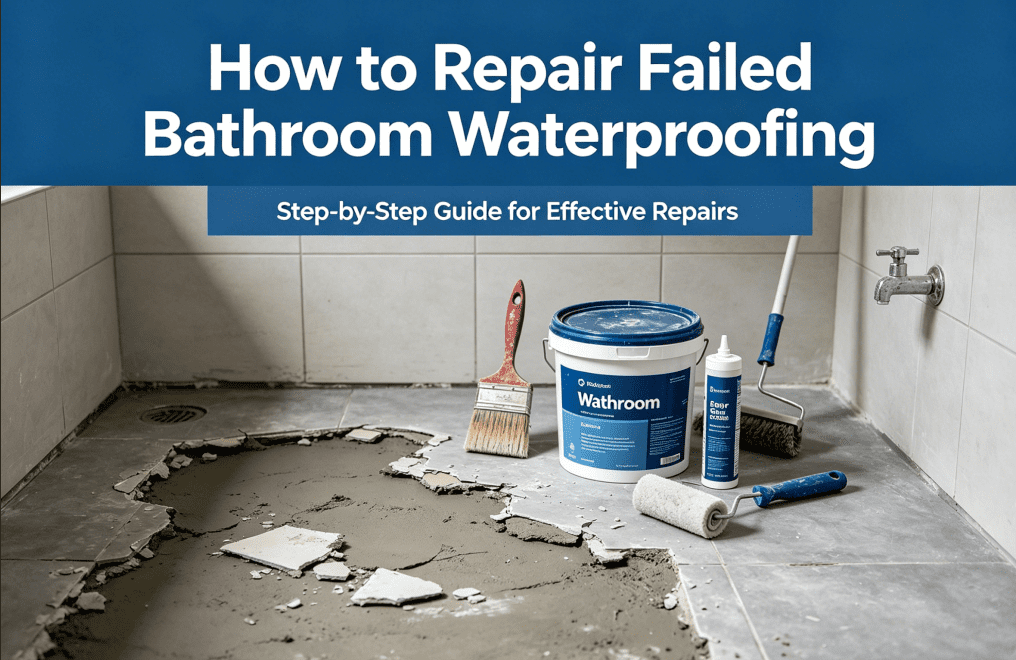
Quick Answer: How Do You Repair Failed Bathroom Waterproofing?
The most reliable repair involves identifying the source of failure, removing damaged finishes, rebuilding the waterproof membrane, flood-testing the repaired area, and reinstalling tile. Localized leaks can sometimes be repaired without full demolition, but widespread failures usually require complete replacement.
- Inspect symptoms and locate the leak source.
- Determine whether the issue is cosmetic or structural.
- Remove affected tiles and damaged substrate.
- Install a new waterproof membrane.
- Perform a 24-hour flood test.
- Retile and reseal the repaired area.
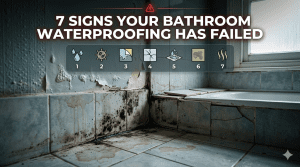
Signs Your Bathroom Waterproofing Has Failed
Waterproofing failures often develop slowly and remain hidden for months or years. Common warning signs include:
- Persistent musty odors
- Loose or hollow-sounding tiles
- Cracked grout and recurring silicone separation
- Peeling paint on adjacent walls
- Water stains on ceilings below
- Mold growth around the shower base
- Soft or swollen subfloors
If you are still diagnosing the issue, our What Happens If Bathroom Waterproofing Fails? article explains the progression of moisture damage in detail.
Common Causes of Waterproofing Failure
| Cause | Typical Repair Difficulty | Estimated Cost | Long-Term Risk |
|---|---|---|---|
| Missing waterproof membrane | High | $2,000–$10,000+ | Severe structural damage |
| Unsealed pipe penetrations | Moderate | $500–$3,000 | Localized hidden leaks |
| Cracked corners or movement joints | Moderate | $800–$4,000 | Progressive moisture intrusion |
| Drain connection failure | High | $1,500–$6,000 | Continuous water loss |
| Premature membrane deterioration | High | $2,000–$12,000+ | Complete system replacement |
Can Waterproofing Be Repaired Without Removing Tiles?
Sometimes, but only under specific conditions. If the leak is limited to grout cracks or deteriorated silicone and the underlying membrane remains intact, surface repairs may be sufficient.
However, if water has penetrated behind the tile or the membrane itself has failed, tile removal is usually unavoidable.
For targeted solutions, read Bathroom Leak Repair Without Removing Tiles.
Step 1: Confirm the Source of the Leak
Before demolition begins, identify exactly where moisture is entering the structure. Common diagnostic tools include:
- Moisture meters
- Infrared thermal imaging
- Flood testing
- Dye testing
- Visual inspection of grout and sealants
Accurate diagnosis prevents unnecessary demolition and ensures the true source is repaired.
Step 2: Remove Damaged Materials
Any tiles, drywall, cement board, or wood that has absorbed moisture should be removed until sound, dry material is exposed.
In severe cases, structural framing may need treatment or replacement if mold or rot is present.
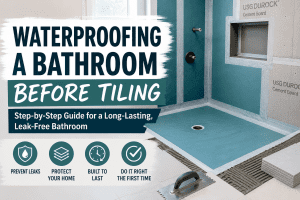
Step 3: Rebuild the Substrate
After demolition, install new cement backer board or a suitable substrate. Ensure the shower floor is properly sloped—approximately 1/4 inch per foot toward the drain.
Our Waterproofing a Bathroom Before Tiling guide explains this preparation process step by step.
Step 4: Install a New Waterproof Membrane
Apply a certified waterproofing system, such as a liquid-applied or sheet membrane, according to manufacturer instructions.
- Reinforce all corners
- Seal pipe penetrations
- Integrate the membrane with the drain assembly
- Apply the specified number of coats
Step 5: Perform a Flood Test
Before reinstalling tile, plug the drain and fill the waterproofed area with water for 24 hours. If the water level remains stable, the system is ready for finishing.
Step 6: Retile and Refinish
Once the waterproofing passes inspection, install tile using appropriate thin-set mortar and finish all movement joints with high-quality silicone sealant.
Real-World Experience: Small Leak, Major Repair
I once inspected a shower where the homeowner repeatedly regrouted the floor, believing the grout was the issue. The actual problem was a failed membrane connection at the drain flange.
By the time the leak was discovered, the subfloor and two wall studs required replacement. Total repair costs exceeded $8,500, while an early flood test would have revealed the problem before tile installation.
Repair Costs: Spot Fix vs Full Rebuild
| Repair Type | Typical Cost | Best For |
|---|---|---|
| Resealing grout and silicone | $50–$300 | Cosmetic maintenance only |
| Localized waterproofing repair | $500–$3,000 | Small isolated failures |
| Partial shower rebuild | $2,000–$6,000 | Moderate membrane damage |
| Complete bathroom waterproofing replacement | $4,000–$15,000+ | Widespread or structural damage |
When Full Replacement Is the Smarter Choice
Complete waterproofing replacement is usually recommended when:
- Multiple areas are leaking
- Mold or wood rot is present
- The bathroom is over 10–15 years old
- The original installation lacked a membrane
- Tiles are loose or extensively damaged
Industry Standards and Professional Guidance
About Our Expertise
Frequently Asked Questions
1. Can failed waterproofing be repaired without replacing all the tile?
Sometimes, but only if the damage is localized and the surrounding membrane remains intact.
2. How do I know if the waterproof membrane has failed?
Persistent leaks, mold, loose tiles, and water damage below the bathroom are strong indicators.
3. How much does waterproofing repair cost?
Minor repairs may cost a few hundred dollars, while full rebuilds can exceed $10,000 depending on damage severity.
4. Is regrouting enough to stop a leak?
No. Regrouting only addresses surface appearance and does not repair a damaged membrane.
5. How long should repaired waterproofing last?
When properly installed and flood-tested, a new waterproofing system can last 10 to 25 years or more.
Conclusion
Repairing failed bathroom waterproofing requires more than cosmetic fixes. The only dependable solution is to diagnose the true source of moisture, rebuild any damaged substrate, install a new waterproof membrane, and verify performance through flood testing.
In my professional experience, homeowners who address waterproofing failures promptly save thousands of dollars and prevent long-term structural damage. While surface repairs may offer temporary relief, a properly rebuilt waterproofing system is the only repair you can truly trust.