
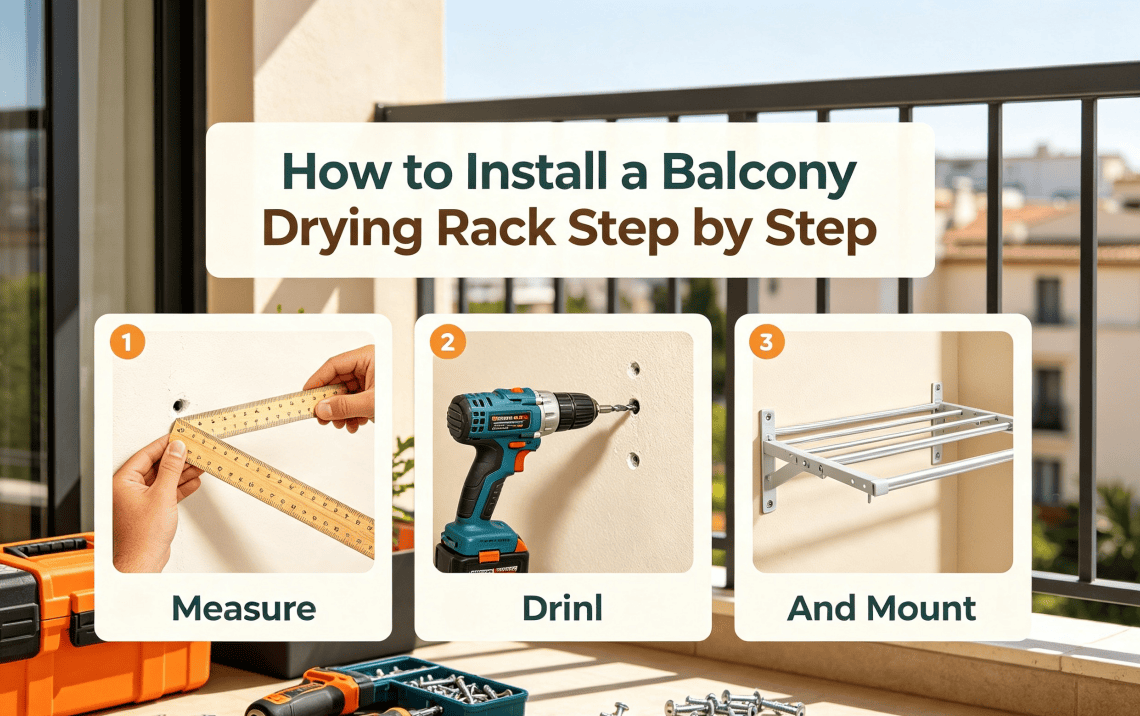
Installing a balcony drying rack is one of the easiest ways to improve laundry efficiency, especially for apartments and homes with limited indoor space. A properly installed drying rack can help you save floor space, improve airflow, and keep clothes organized without creating clutter.
However, many homeowners make mistakes during installation, such as choosing the wrong location, using weak mounting points, or ignoring weight capacity. A drying rack that looks stable at first may become unsafe after holding wet clothes for months.
In this guide, I will walk you through how to install a balcony drying rack step by step, including choosing the right location, preparing tools, installation methods, safety checks, and maintenance tips based on real home improvement experience.
Quick Conclusion: What Is the Best Way to Install a Balcony Drying Rack?
The best installation method depends on your balcony structure and the type of drying rack you choose.
- Apartment balconies: Wall-mounted or ceiling-mounted drying racks are usually the best space-saving solutions.
- Rental homes: Removable racks that do not require drilling are more suitable.
- Heavy laundry loads: Choose racks installed into concrete walls or strong structural points.
- Small balconies: Foldable or retractable drying racks maximize available space.
What You Need Before Installing a Balcony Drying Rack
Before starting installation, prepare the correct tools and check your balcony conditions. Proper preparation prevents unnecessary holes, unstable mounting, and future repairs.
| Item | Purpose |
|---|---|
| Measuring tape | Measure installation position and spacing |
| Electric drill | Create mounting holes for wall installation |
| Screws and anchors | Secure the drying rack safely |
| Level tool | Keep the rack horizontal |
| Pencil | Mark drilling locations |
Step 1: Choose the Best Installation Location
The location of your balcony drying rack directly affects drying speed and safety.
A good position should have:
- Enough sunlight exposure
- Good air circulation
- Enough space for clothes to hang freely
- A strong wall or ceiling structure
Avoid installing the rack too close to balcony edges where strong winds may affect stability. Also avoid areas blocked by air conditioner outdoor units because warm air and limited airflow can reduce drying efficiency.
For example, in a small apartment balcony, installing a foldable rack near the balcony wall allows homeowners to dry clothes daily while still keeping enough space for movement.
Step 2: Measure the Available Balcony Space
Measurement is one of the most important steps. Many installation problems happen because homeowners buy a rack that is too large for their balcony.
Measure:
- Balcony width
- Wall height
- Distance from doors and windows
- Maximum rack extension length
As a general guide, leave enough space between clothes so air can move freely. Overcrowded drying racks increase drying time and may create a damp smell.
Step 3: Mark the Installation Position
After choosing the location, use a pencil to mark where the brackets or mounting plates will be installed.
Use a level tool to ensure both sides are aligned. A tilted drying rack can create uneven weight distribution, causing unnecessary stress on screws and brackets.
Step 4: Drill and Install the Mounting Brackets
For wall-mounted balcony drying racks, drilling accuracy is critical.
- Use the correct drill bit according to your wall material.
- Insert suitable wall anchors.
- Tighten screws firmly but avoid damaging the mounting surface.
- Check that brackets do not move before attaching the rack.
Concrete balconies usually provide stronger support than lightweight partition walls. If you are unsure about the wall structure, consult a professional installer.
Step 5: Attach the Drying Rack and Test Stability
Once the brackets are installed, attach the drying rack according to the manufacturer’s instructions.
Before hanging clothes, perform a safety test:
- Push the rack gently from different directions.
- Check whether screws remain tight.
- Apply gradual weight instead of immediately hanging heavy laundry.
A practical method is to test with several towels first before using the rack for a full load of wet clothes.
Different Balcony Drying Rack Installation Methods Compared
| Type | Average Price | Installation Difficulty | Advantages | Disadvantages |
|---|---|---|---|---|
| Wall-Mounted Drying Rack | $40–$200 | Medium | Saves floor space and stays stable | Requires drilling |
| Ceiling-Mounted Drying Rack | $80–$300 | Medium to High | Uses unused vertical space | Needs strong ceiling support |
| Foldable Balcony Rack | $30–$150 | Easy | Flexible and renter-friendly | Limited drying capacity |
| Retractable Drying Rack | $50–$250 | Medium | Can be hidden when not used | Moving parts need maintenance |
How to Choose the Right Balcony Drying Rack for Your Home
For Small Apartments
A retractable or foldable drying rack is usually the best choice because it provides drying space without permanently occupying your balcony.
For Families With Heavy Laundry
Choose a strong wall-mounted or ceiling-mounted rack with higher weight capacity. Families with children often need extra space for towels, bedding, and daily clothing.
For Rental Apartments
Freestanding racks or non-drilling solutions are better because they avoid permanent changes to the balcony.
Related guide:
Best Balcony Drying Racks for Small Spaces
Common Balcony Drying Rack Installation Mistakes
- Installing on weak walls: The rack may loosen over time.
- Ignoring weight limits: Wet clothes are much heavier than dry clothes.
- Installing too close to walls: Poor airflow increases drying time.
- Skipping measurements: The rack may block doors or windows.
- Using incorrect screws: Poor hardware reduces safety.
Maintenance Tips After Installation
A good drying rack can last many years with simple maintenance.
- Check screws and brackets every few months.
- Clean dust and outdoor dirt regularly.
- Remove rust spots early on metal racks.
- Do not exceed the recommended weight capacity.
- Lubricate moving parts on retractable models.
Related Balcony Laundry Guides
Frequently Asked Questions About Installing Balcony Drying Racks
1. Can I install a balcony drying rack by myself?
Yes, many foldable and simple wall-mounted racks can be installed as a DIY project. However, heavy ceiling-mounted systems may require professional installation.
2. How high should a balcony drying rack be installed?
The ideal height depends on your balcony design, but it should allow clothes to hang freely while remaining easy to reach.
3. Can a drying rack be installed on any balcony wall?
No. The wall must have enough strength to support the rack and the weight of wet clothes. Lightweight decorative walls may not be suitable.
4. How much weight can a balcony drying rack hold?
Most household drying racks support around 20–50 pounds, but capacity depends on the design, materials, and installation quality.
5. How can I prevent a balcony drying rack from rusting?
Choose rust-resistant materials such as stainless steel or aluminum, and regularly clean moisture and dirt from the surface.
Conclusion: Install Your Balcony Drying Rack Safely and Efficiently
Installing a balcony drying rack is a practical home improvement project that can make laundry easier, especially in apartments and small homes.
The key is choosing the right rack type, measuring carefully, using proper mounting hardware, and checking stability before daily use.
A well-installed drying rack not only saves space but also creates a cleaner and more organized balcony area. With proper installation and maintenance, your drying rack can provide reliable service for many years.